book.kubebuilder.io is great for tutorials on developing Kubernetes controllers. Yet, for beginners, it might feel a bit overwhelming. In this blog, I'll guide you through a step-by-step process to build a simple controller using Kubebuilder. It'll make you comfortable with basic terms and ease you into Kubebuilder tutorials from book.kubebuilder.io.
Example Scenario and Goal
Imagine we have our movie ticket booking app up and running. After a month of testing and having it live, we noticed something interesting in the data. Specifically, between 5 PM and 6 PM, there's a significant surge in demand, with many people trying to book tickets. To handle this, we want to increase the number of replicas in our deployment during this busy hour.
To address this challenge, we're planning to create a Kubernetes controller. This controller will monitor our deployment and automatically adjust the number of replicas during the peak demand period, scaling it up. Once the high-demand window passes, it will scale the deployment back down to just one replica.
Our Kubernetes operator will create a custom resource named AutoScaler. This resource represents the configuration details for the deployments managed by our custom operator.
Example of Customer Resource:
apiVersion: sudiptob2.github.io/v1alpha1
kind: AutoScaler
metadata:
  name: bookingapp-scaler
  namespace: myoperator
spec:
  name: my-booking-app # name of the deployment to monitor
  startTime: 17
  endTime: 18
  replicas: 3
So, at a high level, this is how our custom software works.
User creates a custom resource (CR) via
kubectlcommand under a Kubernetes namespace.Operator is running on the cluster under the operator's namespace and it watches for these specific custom resource (CR) objects.
Operator takes action: scale up or scale down the target deployments specified int the CR.
Development Environment
All examples in this tutorial are tested on a Mac OS X laptop but these components should work on a standard Linux or Windows with compatible bash shell.
Developer Software
The following softwares are suggested for setting up a proper development environment
git client
Go (v1.21+) https://golang.org/dl/
Docker Desktop - https://www.docker.com/products/docker-desktop
Kind (Kubernetes in Docker) - https://kind.sigs.K8s.io/docs/user/quick-start/
Kubebuilder - https://go.kubebuilder.io/quick-start.html
Kustomize - https://kubectl.docs.kubernetes.io/installation/
Kubernetes Cluster
For this exercise, we will be using Kind which is a tool for running local Kubernetes clusters using Docker container.
To start a kind cluster on your local machine, run the following command
kind create cluster --name kind
In my case, I am running the Kubernetes version v1.27.2
Kubebuilder Project Setup
At first, we will use Kubebuilder to initialize a project and generate the boilerplate code.
Creating Directory
Create a directory named autoscaler-operator. You are free to pick any name but remember that this directory will contribute to the default name of the Kubernetes namespace and container for your operator (although you can change this later).
mkdir autoscaler-operator
cd autoscaler-operator
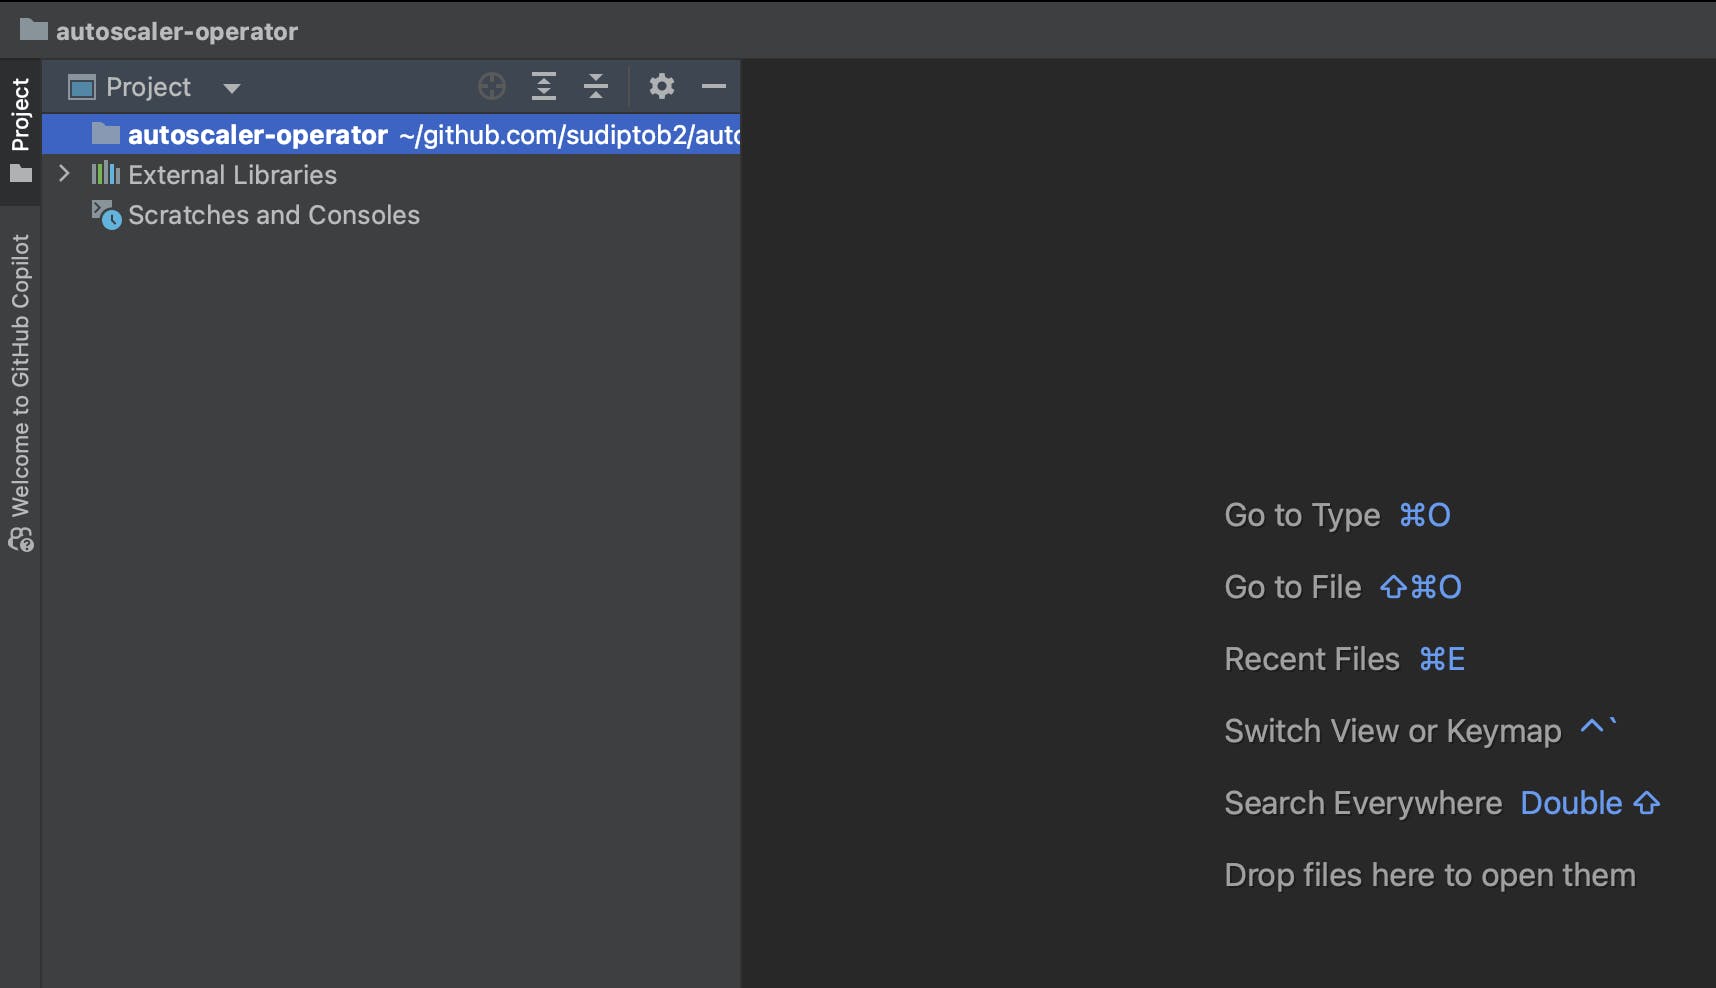
Afterward, open the directory in your preferred IDE and proceed with the next steps from there. I should look like this:

Initialize the Directory
Now let's initialize the go module for the operator. This module name will be used for package management inside the code base.
go mod init autoscaler-operator
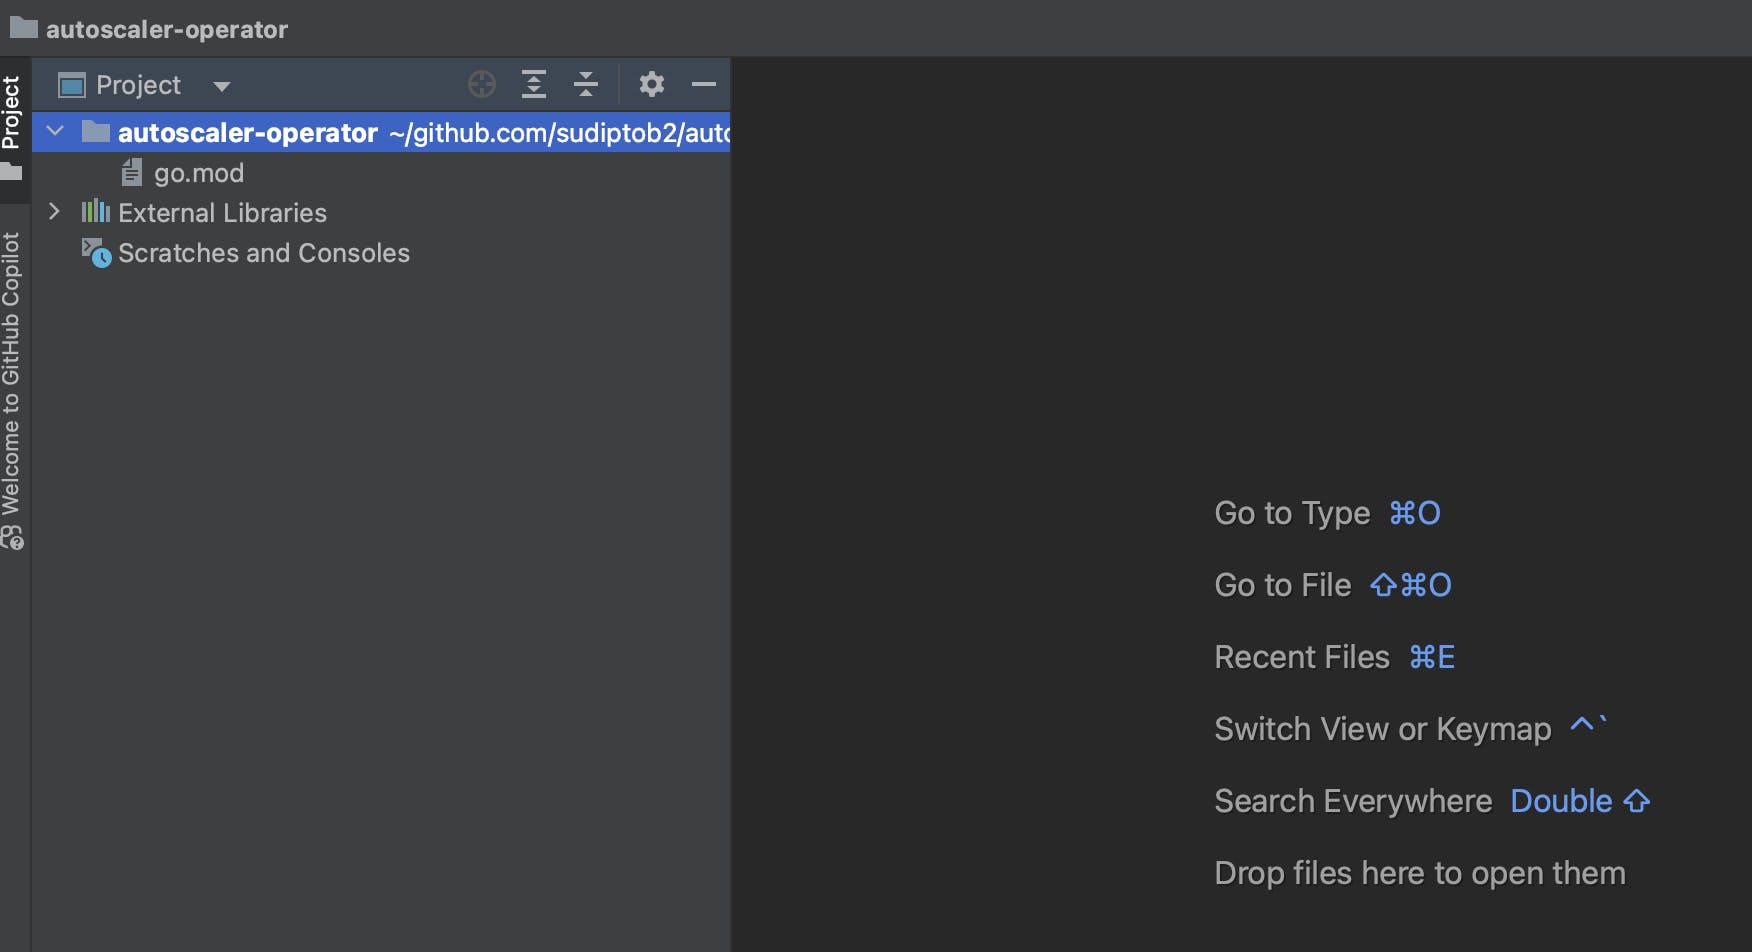
At this point, you will have a single file under autoscaler-operator folder: go.mod.

API Group Name, Version, Kind
The API Group, its versions, and the supported kinds are integral components of the Kubernetes (K8s) core. You can learn about them here, and it's a good idea to get a simple grasp of these terms.
In this example, we will name our kind as AutoScaler that will belong to the API group scaler.sudiptob2.github.io with the initial version of v1alpha.
These are all parameters for the kubebuilder scaffolding: please note the parameters --domain and then --group, --version and --kind. You can change these parameters according to your choice.
kubebuilder init --domain sudiptob2.github.io
# answer yes for both questions
kubebuilder create api --group scaler --version v1alpha1 --kind AutoScaler
It will prompt you to agree to create the resource and controller. Type y to proceed with creating both.
Now look at the autoscaler-operator folder. A boilerplate project has been initialized. It should look like the following screenshot.

Custom Resource Definition (CRD)
Concept
Custom Resource Definitions (CRDs), like the AutoScaler we talked about earlier, are a way to add new stuff to Kubernetes. Almost every custom controller or operator needs at least one CRD, which we'll call the "root object." When you're planning your operator, you'll need to figure out what kind of root object (or objects) you want and what information each object should have.
Usually, Kubernetes objects have three main parts: metadata, spec, and statusalong with kind and apiVersion (as we learned earlier, these define the API Group, Version, and Kind).
In the Spec section, you describe what you want the object to be like (its desired state). The status section tells you what the object is like right now (its current state). Your operator's job is to keep these two sections in sync by continuously checking and updating them.
Our example: AutoScaler
For this example, we will define a root object type AutoScaler that will monitor the specified deployments and scale them to the desired number of replicas in the given time range. So we will need to provide the following information.
name: name of the target deploymentstartTIme: From when the AutoScaler should scale up the target deployment.endTime: From when the AutoScaler should scale down the target deployment.replicas: How many replicas the deployment should add.
Scaffolding already created a autoscaler_types.go for us. However, it is empty for these desired fields (on both spec and status sections). We will need to populate these sections with our business logic.
Open the api/v1alpha1/autoscaler_types.go file and add the following:
// AutoScalerSpec defines the desired state of AutoScaler
type AutoScalerSpec struct {
    // INSERT ADDITIONAL SPEC FIELDS - desired state of cluster
    // Important: Run "make" to regenerate code after modifying this file

    Name string `json:"name"`
    // +kubebuilder:validation:Minimum=0
    // +kubebuilder:validation:Maximum=24
    StartTime int `json:"startTime"`
    // +kubebuilder:validation:Minimum=0
    // +kubebuilder:validation:Maximum=24
    EndTime int `json:"endTime"`
    // +kubebuilder:validation:Minimum=0
    // +kubebuilder:validation:Maximum=5
    Replicas int `json:"replicas"`
}
Note the // +kubebuilder:validation:Minimum=0 comments. These kubebuilder-annotations enforce custom field validations. For more information refer here.
Creating the CRD
Now run the following command to generate CRD based on the spec from `autoscaler_types.go` .
make manifests && make generate
If the command is successful, you should see config/crd/bases/scaler.sudiptob2.github.io_autoscalers.yaml file is created in your project.
Installing CRD
Currently, the Kubernetes API server doesn't recognize the AutoScaler resource. To fix this, we need to install it so that Kubernetes recognizes and understands this as a known resource.
To check, all the available K8s resources you can run the following command.
kubectl api-resources
You will not see any AutoScaler resource in the output.
Now Let's install our custom resource.
make install
Let's check if we see our custom resource
kubectl api-resources --api-group=scaler.sudiptob2.github.io
Note that, I filtered the output by api-group . You will see output like the following:
NAME          SHORTNAMES   APIVERSION                            NAMESPACED   KIND
autoscalers                scaler.sudiptob2.github.io/v1alpha1   true         AutoScaler
Now our Kubernetes API knows about the custom resource called AutoScaler. Now we can create a custom resource of kind AutoScaler
Kubebuilder already created a sample file for your CR. Let's update the sample file and apply. Open config/samples/scaler_v1alpha1_autoscaler.yaml . Update the spec section only.
apiVersion: scaler.sudiptob2.github.io/v1alpha1
kind: AutoScaler
metadata:
  labels:
    app.kubernetes.io/name: autoscaler
    app.kubernetes.io/instance: autoscaler-sample
    app.kubernetes.io/part-of: autoscaler-operator
    app.kubernetes.io/managed-by: kustomize
    app.kubernetes.io/created-by: autoscaler-operator
  name: autoscaler-sample
spec:
  name: my-booking-app # name of the deployment to monitor
  startTime: 17 # Start hour in 24 hour format
  endTime: 18 # end hour in 24 hour format
  replicas: 5
Apply the resource:
kubectl apply -f config/samples/scaler_v1alpha1_autoscaler.yaml
List the custom resource:
kubectl get autoscaler
You should get output like this:
NAME                AGE
autoscaler-sample   83s
Controller
The controller is the place where we define how our custom resource will behave. Let's open the internal/controller/autoscaler_controller.go . Here is a very simple reconciliation logic I have written:
Initialize and fetch the
AutoScalerresource.Extract key details such as name, time range, and desired replicas.
Log essential information about the
AutoScalerobject.Retrieve the associated
Deployment.Manage initial replicas and update the
Deploymentbased on the current time and desired state.Signal a requeue for the next reconciliation after 5 seconds.
func (r *AutoScalerReconciler) Reconcile(ctx context.Context, req ctrl.Request) (ctrl.Result, error) {
    // Obtain logger from the context
    logger := log.FromContext(ctx)

    // Create an instance of AutoScaler to store the fetched resource
    scaler := &scalerv1alpha1.AutoScaler{}

    // Fetch the AutoScaler resource using its namespaced name
    err := r.Get(ctx, req.NamespacedName, scaler)
    if err != nil {
        // Log an error if unable to fetch the AutoScaler resource
        logger.Error(err, "unable to fetch Scaler")
        return ctrl.Result{}, client.IgnoreNotFound(err)
    }

    // Extract relevant information from the AutoScaler resource
    name := scaler.Spec.Name
    startTime := scaler.Spec.StartTime
    endTime := scaler.Spec.EndTime
    replicas := int32(scaler.Spec.Replicas)
    currentHour := time.Now().Hour()
    deployment := &v1.Deployment{}

    // Log information about the AutoScaler object
    logger.Info("Scaler object", "name", name, "startTime", startTime, "endTime", endTime, "replicas", replicas)

    // Fetch the Deployment associated with the AutoScaler
    err = r.Get(ctx, types.NamespacedName{
        Name:      name,
        Namespace: "default",
    },
        deployment,
    )
    if err != nil {
        // Log an error if unable to fetch the associated Deployment
        logger.Error(err, "unable to fetch deployment")
        return ctrl.Result{}, client.IgnoreNotFound(err)
    }

    // If InitialReplicas is not set, store the initial replicas from the Deployment
    if r.InitialReplicas == nil {
        r.InitialReplicas = deployment.Spec.Replicas
    }

    // Check if the current hour is within the specified time range
    if currentHour >= startTime && currentHour <= endTime {
        // If replicas in the Deployment differ from the desired replicas, update the Deployment
        if *deployment.Spec.Replicas != replicas {
            deployment.Spec.Replicas = &replicas
            err = r.Update(ctx, deployment)
            if err != nil {
                // Log an error if unable to update the Deployment
                logger.Error(err, "unable to update deployment")
                return ctrl.Result{}, err
            }
        }
    } else {
        // If outside the specified time range, revert to the initial number of replicas
        if *deployment.Spec.Replicas != *r.InitialReplicas {
            deployment.Spec.Replicas = r.InitialReplicas
            err = r.Update(ctx, deployment)
            if err != nil {
                // Log an error if unable to update the Deployment
                logger.Error(err, "unable to update deployment")
                return ctrl.Result{}, err
            }
        }
    }

    // Return a result indicating a requeue after 5 seconds
    return ctrl.Result{RequeueAfter: 5 * time.Second}, nil
}
Testing
Now, remember our custom resource. We defined to monitor a deployment named my-booking-app . Now let's create a deployment named my-booking-app so that our operator can monitor it.
create a file called deplolyment.yaml in any directory of your machine. I am deploying a simple nginx image. Your deployment should look like the following:
apiVersion: apps/v1
kind: Deployment
metadata:
  name: my-booking-app
spec:
  replicas: 3   # Adjust the number of replicas as needed
  selector:
    matchLabels:
      app: my-booking-app
  template:
    metadata:
      labels:
        app: my-booking-app
    spec:
      containers:
      - name: nginx
        image: nginx:latest
        ports:
        - containerPort: 80
Apply the deployment.
kubectl apply -f deployment.yaml
Now let's run our custom controller. A make command is already provided by Kubebuilder to run the controller. So, from the project root run the following command.
make run
See how our custom controller works when you set the startTime and endTime correctly based on your system's current time. When done accurately, the controller adjusts the number of replicas to match the desired quantity (set to 5 in this case). To test the scale down in action, change the startTime and endTime to a time range beyond the current system time and reapply the custom resource. You'll notice the controller brings back the number of replicas to the initial count specified in the deployment.yaml file, as the high-demand period for our booking app ended.
References
Source code: https://github.com/sudiptob2/k8-controller-exercise
Kubebuilder: https://book.kubebuilder.io/
More training: https://github.com/embano1/codeconnect-vm-operator